
Webhook Management
Use the eatsy dashboard to create, rotate, and delete webhook configurations for your business.
Create
You can create a webhook from the eatsy dashboard in Desarrollador > Webhooks.
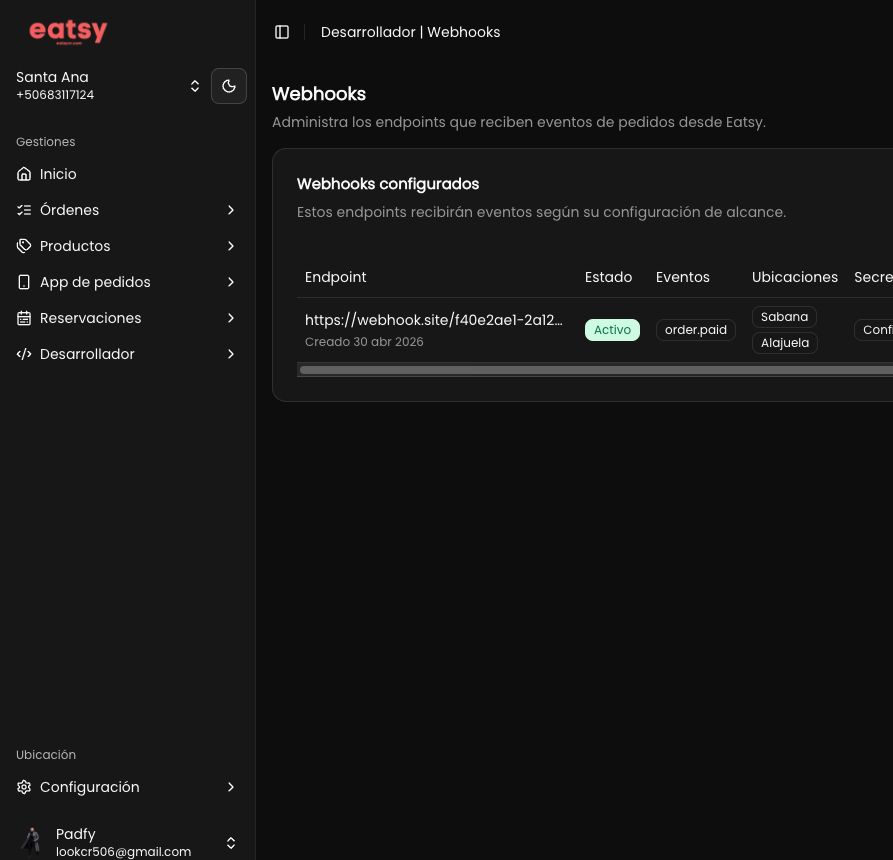
To create a webhook:
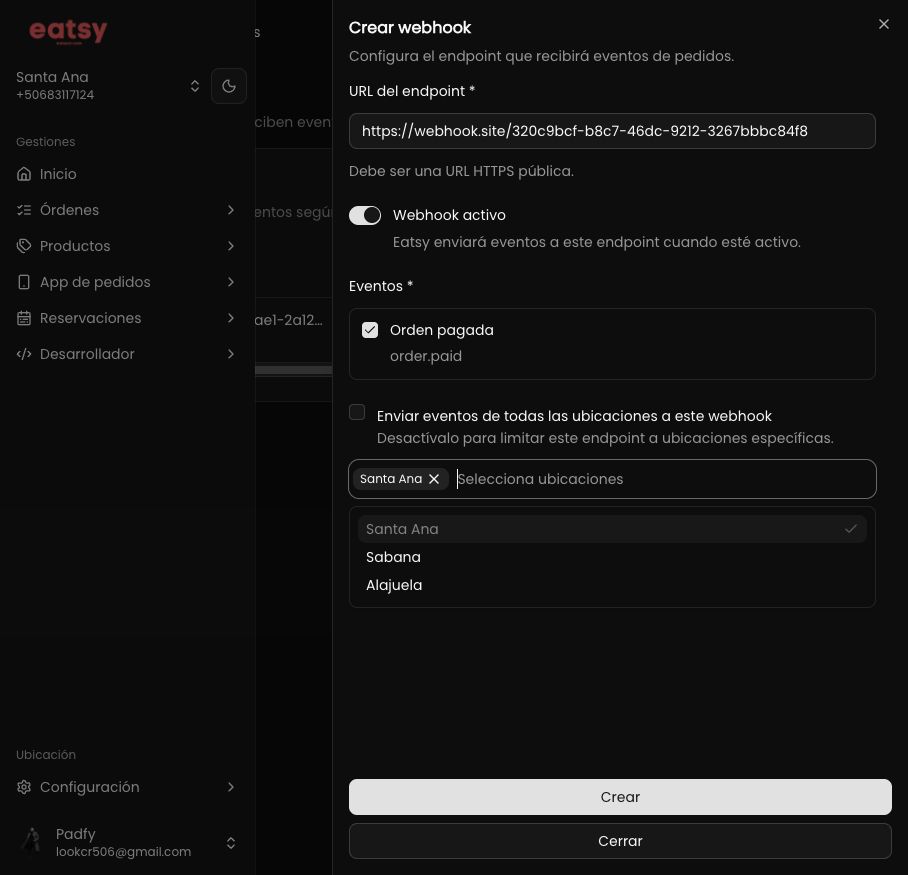
- Click Crear webhook.
- Enter the HTTPS URL where eatsy should send events.
- Keep the webhook enabled if you want eatsy to start sending events immediately.
- Confirm the available event. Currently, eatsy supports configuring
order.paid. - Choose whether the webhook should receive events from every location or only specific locations.
- Click Crear.
When the webhook is created successfully, eatsy generates a unique secret for that webhook. This secret is shown only once.
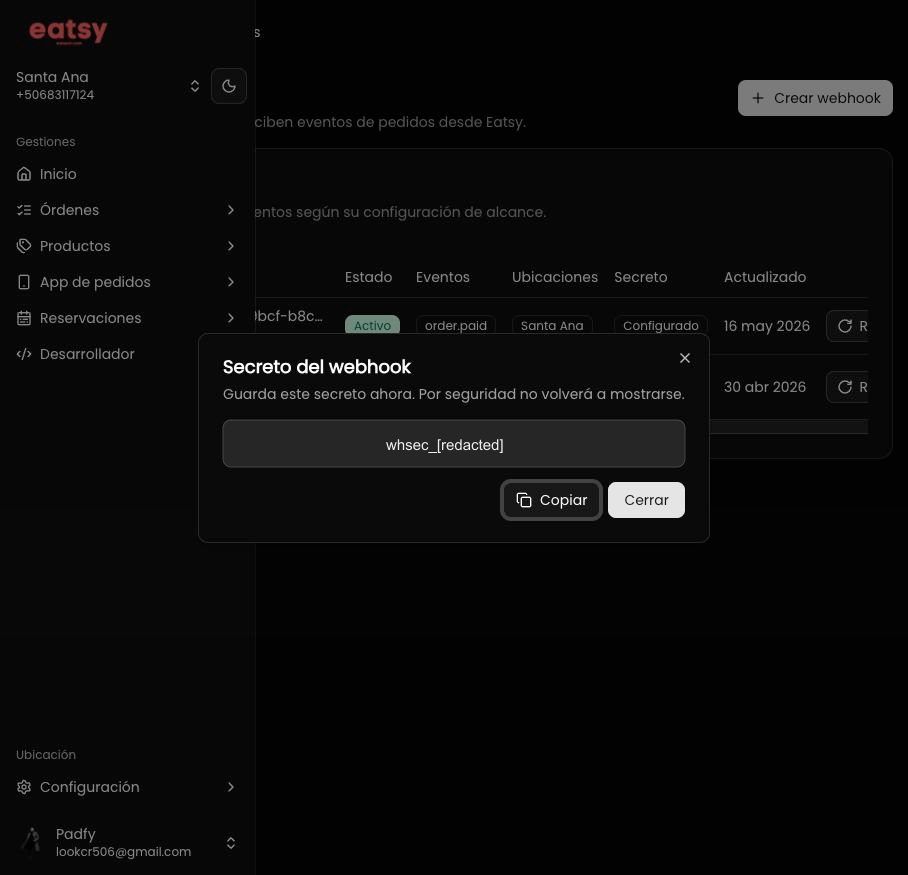
Store this value in your system. Your endpoint must compare it against the X-eatsy-Webhook-Secret header on every request.
After you close the dialog, the secret cannot be viewed again. If you lose it, rotate the webhook secret.
Rotate
Rotating a webhook generates a new secret for that webhook. The previous secret stops working immediately.
Use rotation if the secret was accidentally exposed, your internal policy requires credential changes, or your team lost access to the original secret.
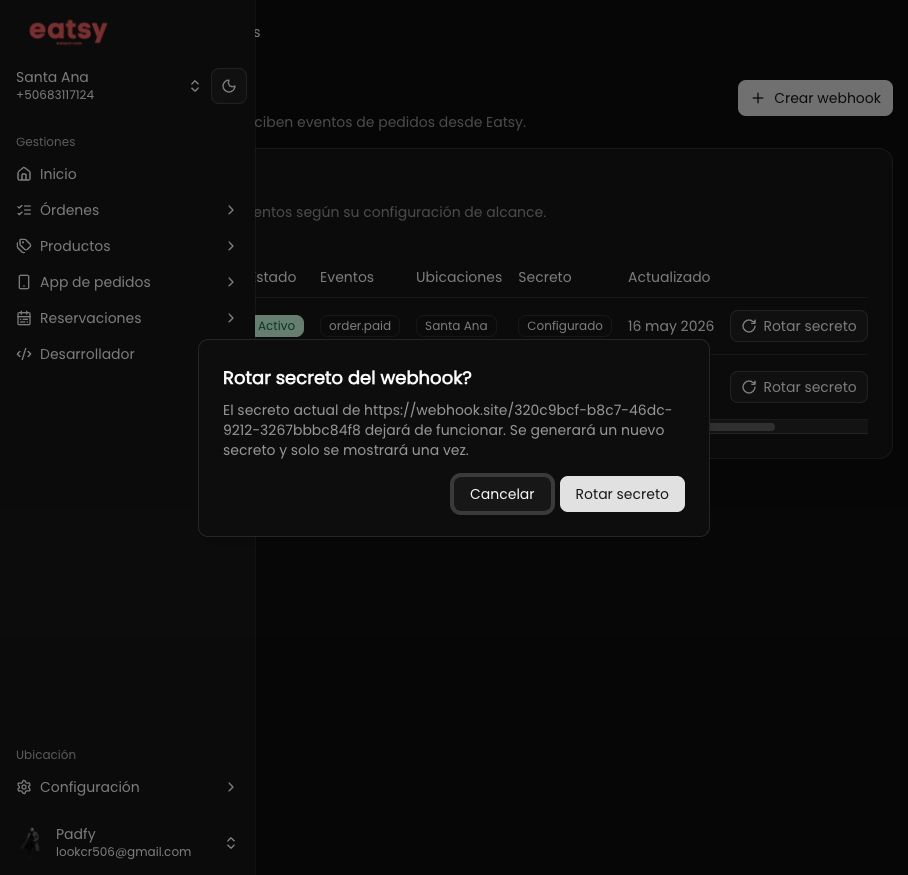
To rotate a secret:
- Find the webhook in the webhook table.
- Click Rotar secreto.
- Confirm the action.
- Store the new secret that eatsy shows only once.
- Update your server to validate the new
X-eatsy-Webhook-Secretvalue.
Until your system uses the new secret, it may reject valid webhook requests from eatsy.
Delete
Deleting a webhook permanently removes that configuration. eatsy will stop sending events to that endpoint.
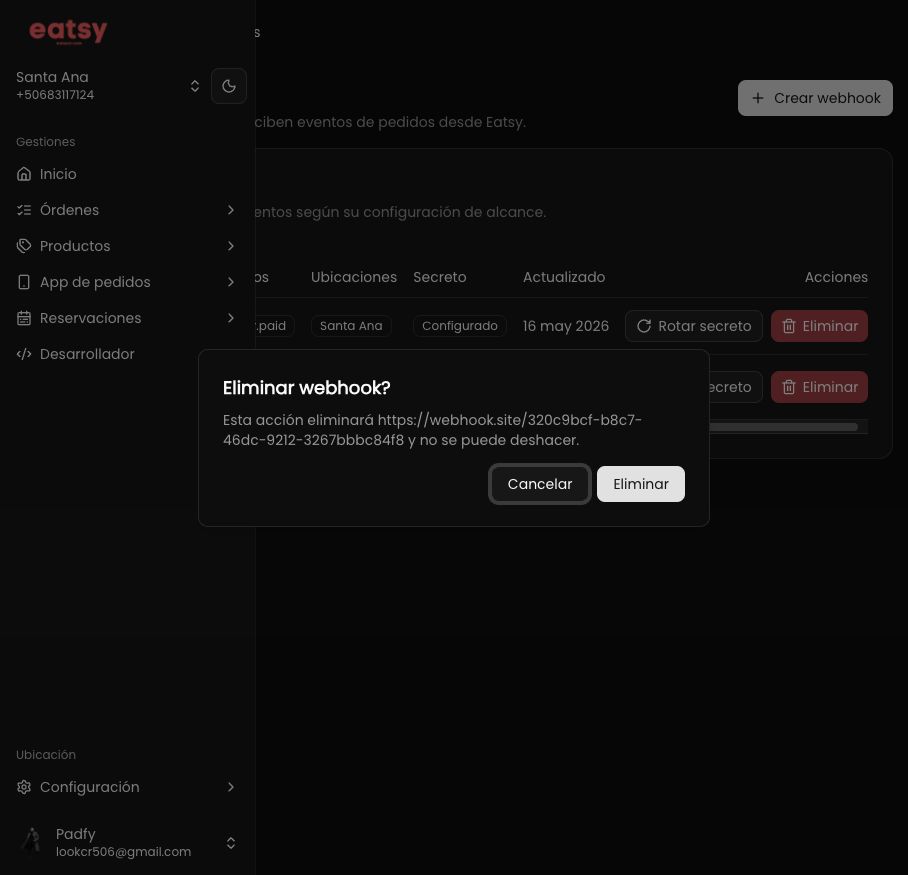
To delete a webhook:
- Find the webhook in the webhook table.
- Click Eliminar.
- Confirm the action.
This action cannot be undone. If you want to receive events at that endpoint again, create a new webhook.